On Pistons
Introduction
The human utilization of circular motion dates back to around 3500 BC. Our journey starting with the wheel encompasses various fields such as transportation, electricity generation, machines, and robots, where we employ circular motion. One way to achieve circular motion is by harnessing the energy contained in fuel. By using the energy obtained from the combustion occurring inside the cylinder we can convert vertical motion sending an object -in our case pistons- up and down into circular motion using various designed shafts. Once we have a rotating object the rest is up to our imagination. Alternators, propellers, gears and more come into play as we transform this circular motion into different forms to serve our needs.
Today in obtaining this circular motion we have a critical component that has been used for a very long time. Pistons
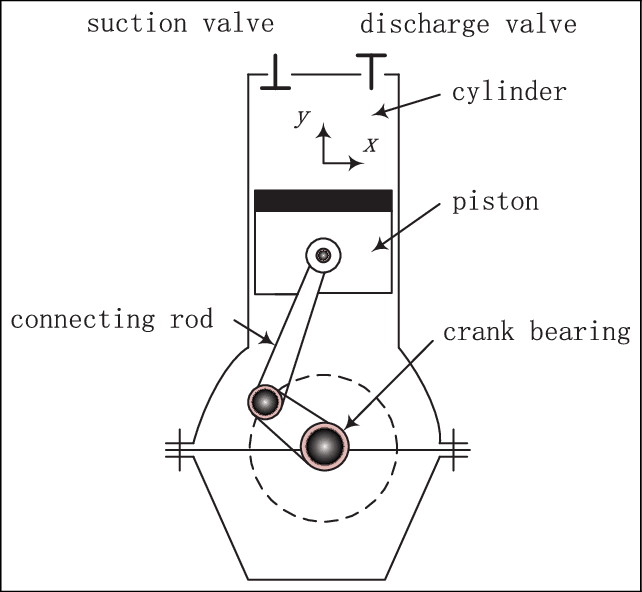
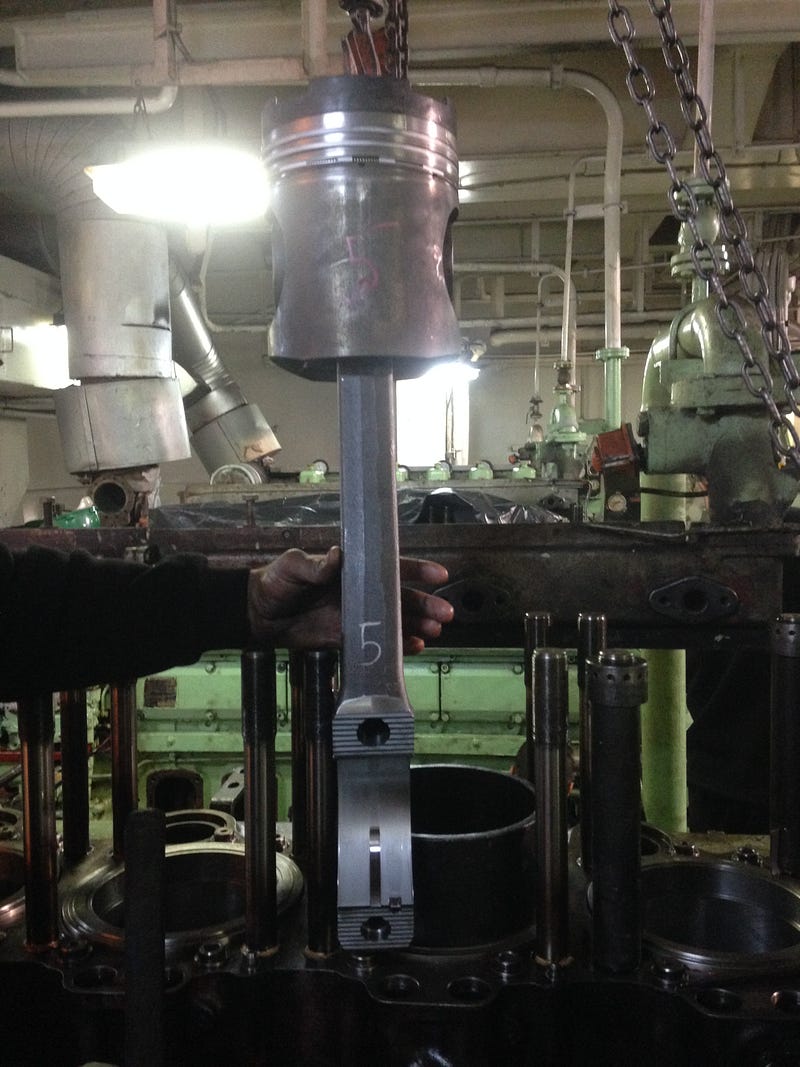
Pistons transmit vertical motion to the shaft with the help of a connecting rod. In 4-stroke diesel engines, we typically encounter three types of connecting rods: serrated , plain , and three-split connecting rods.
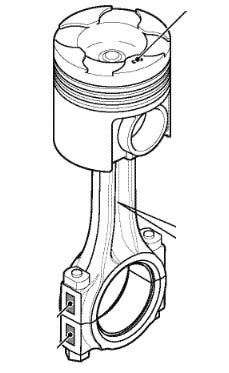
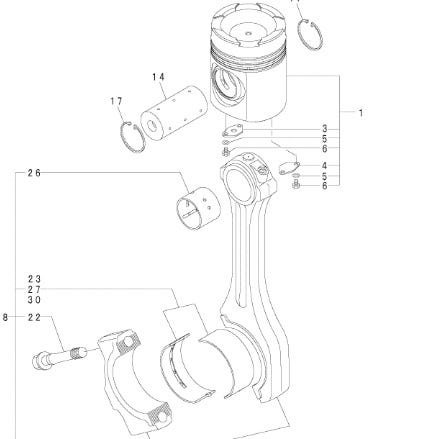
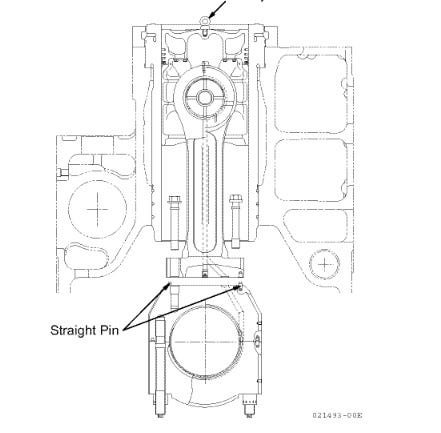
One of the tasks that a marine engineer frequently witnesses is piston removal. To disassemble pistons the cylinder heads needs to be removed first.
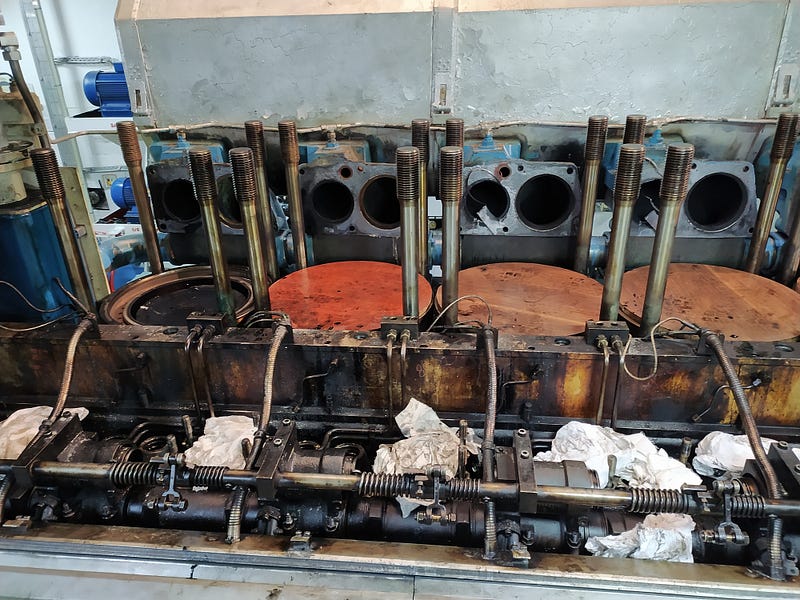
The connecting rod bolts or nuts needs to be loosened first. The bolts or nuts can be loosened either manually using a wrench and wrench handle or with the assistance of hydraulic tools. As the piston diameter increases the necessity of using hydraulic tools becomes more prevalent.
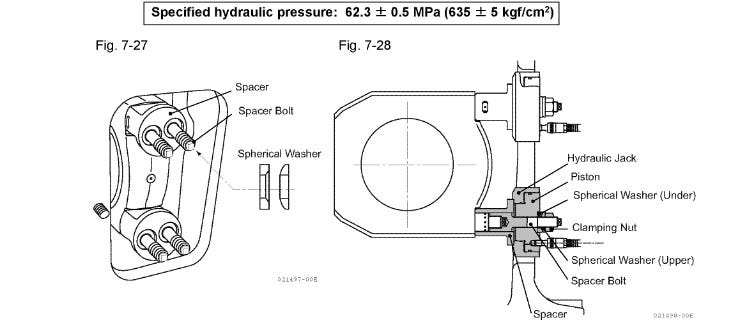
Indeed in the instruction books that we will constantly rely on during the operation of the machine many procedures are explained in details. You can witness how experienced hands who have been performing these tasks for years have developed even better methods than those specified in these procedures.
Before disassembling the piston in most machines with a diameter greater than 150 mm the ring located at the top of the cylinder known by different names such as fire ring, anti-polishing ring or calibration insert needs to be removed.
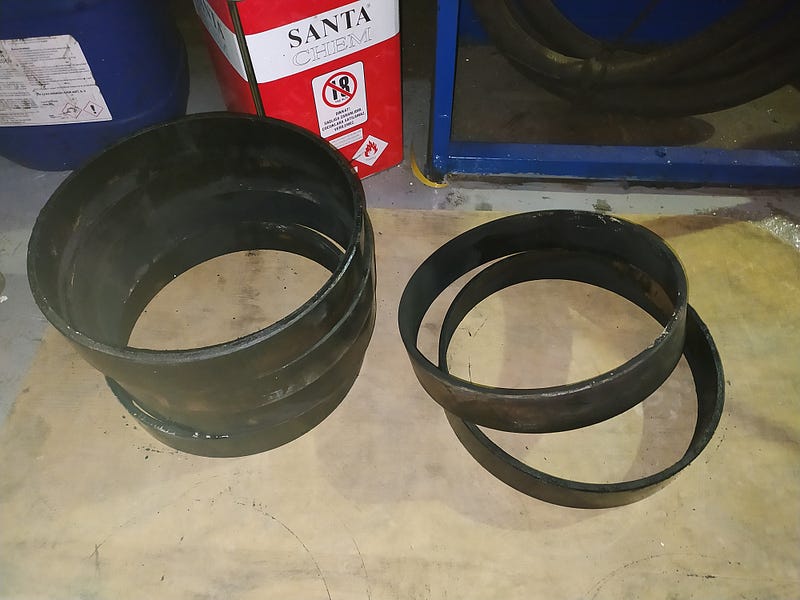
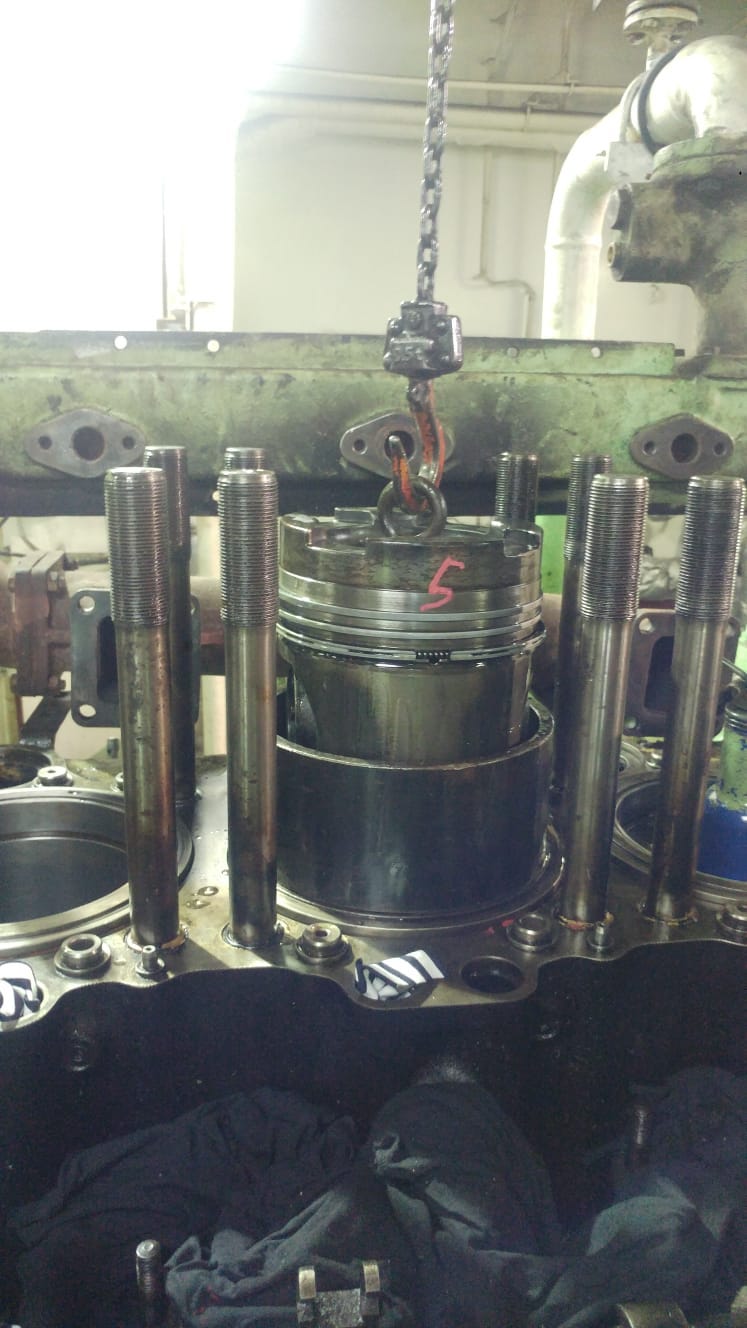
Once the fire ring is removed the next step is to remove the big end cap. With the big end cap being removed the piston is ready to be extracted. Usually there is a threaded hole for an eye bolt to be attached to the piston head. An eye bolt of suitable size is mounted on the head and the piston is pulled out.
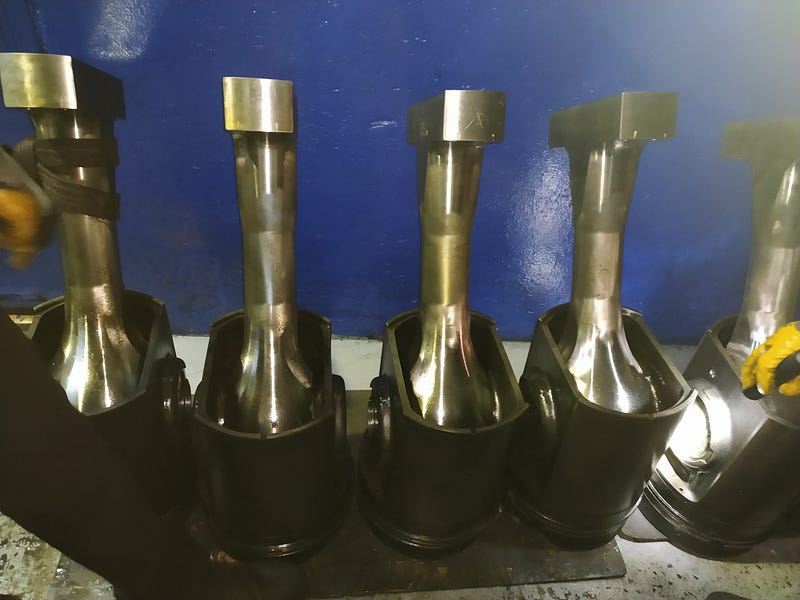
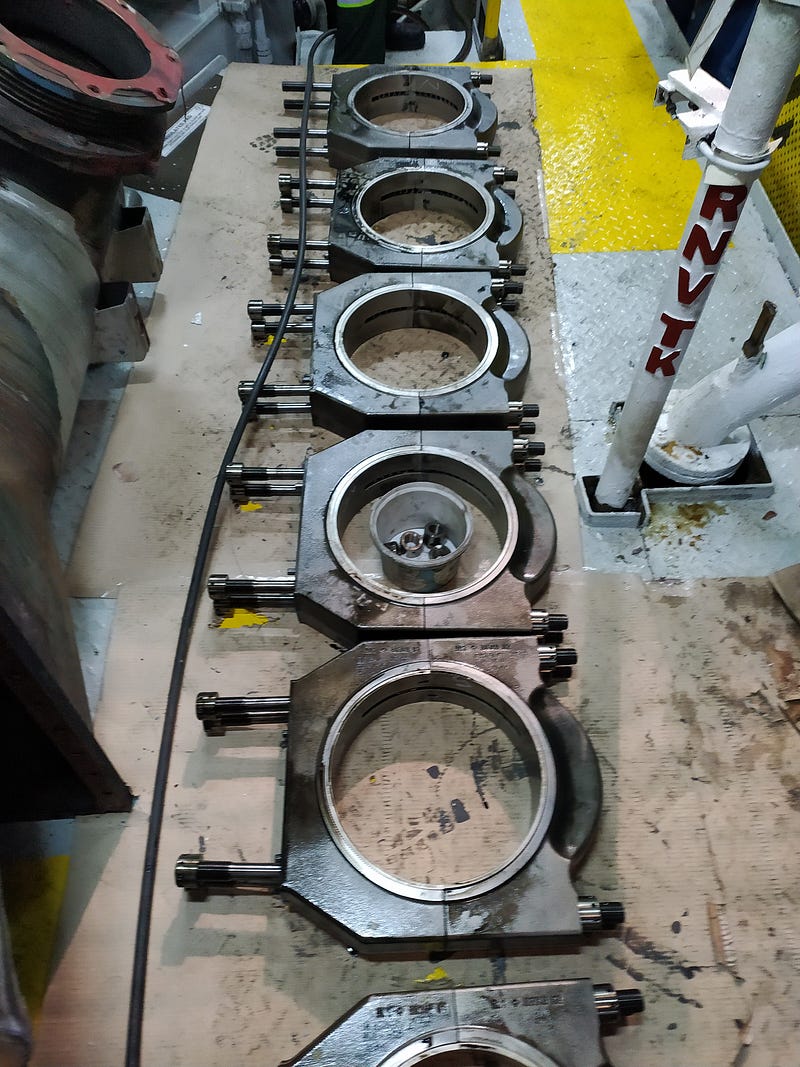
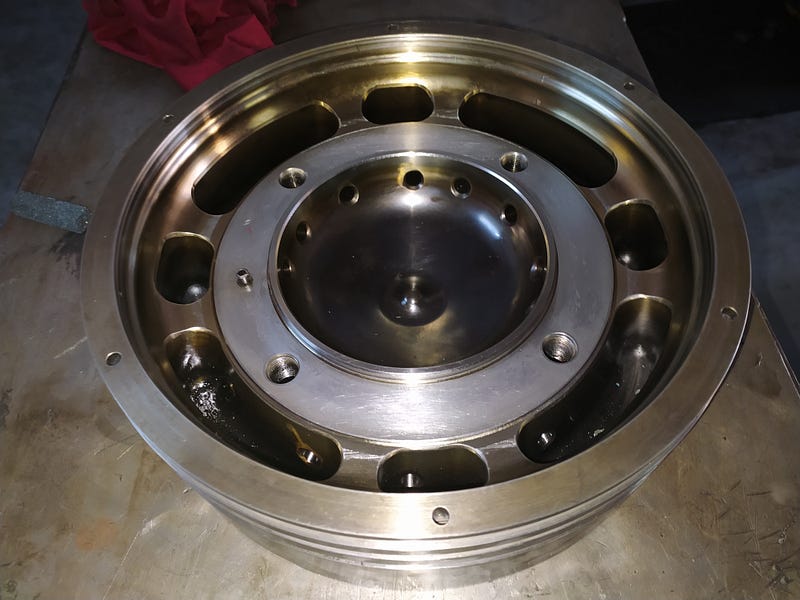
After disassembling the pistons the cleaning process is carried out. The piston head contains ring grooves where carbon residues formed during combustion. It is crucial to remove these residues to prevent any stucking issues during reassembly. The piston head is carefully cleaned and for thorough cleaning it may be attached to a lathe and cleaned using fine abrasives like 400-grit sandpaper to clean the grooves.
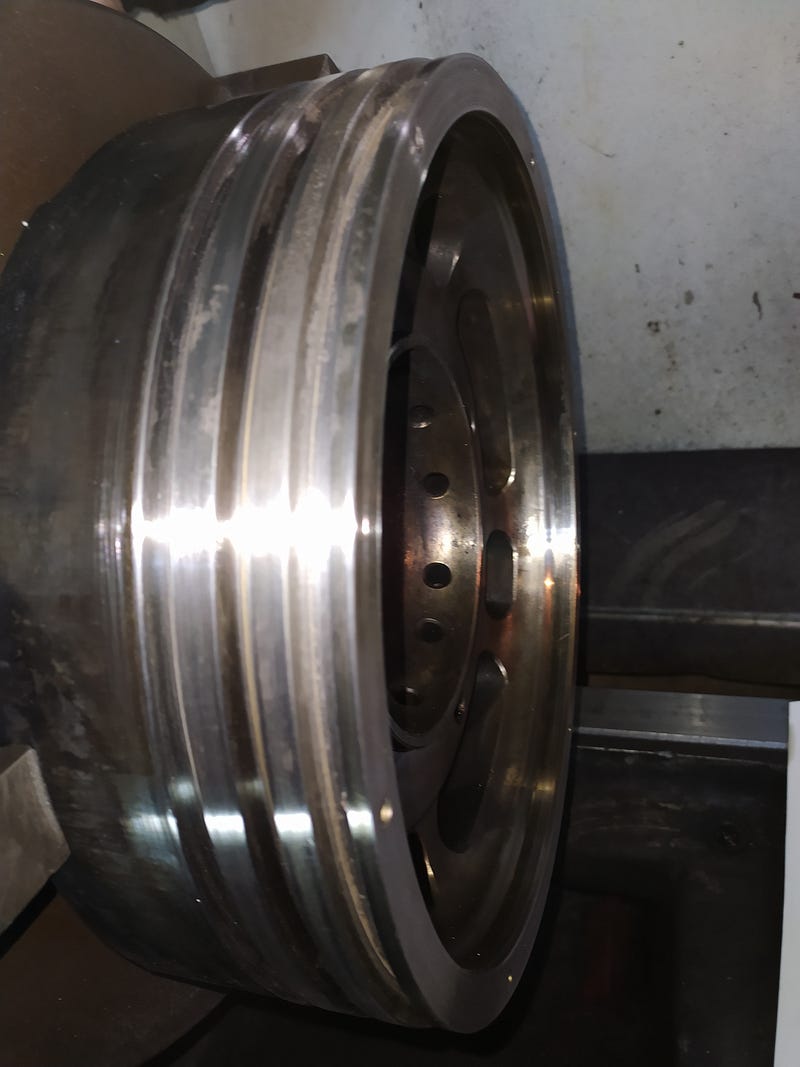
After cleaning the measurements of piston ring grooves are taken and the piston connecting rod is tightened according to the manufacturer’s procedures and measured. Surfaces that work face-to-face are inspected. Conducting dye penetration crack on tests is beneficial.
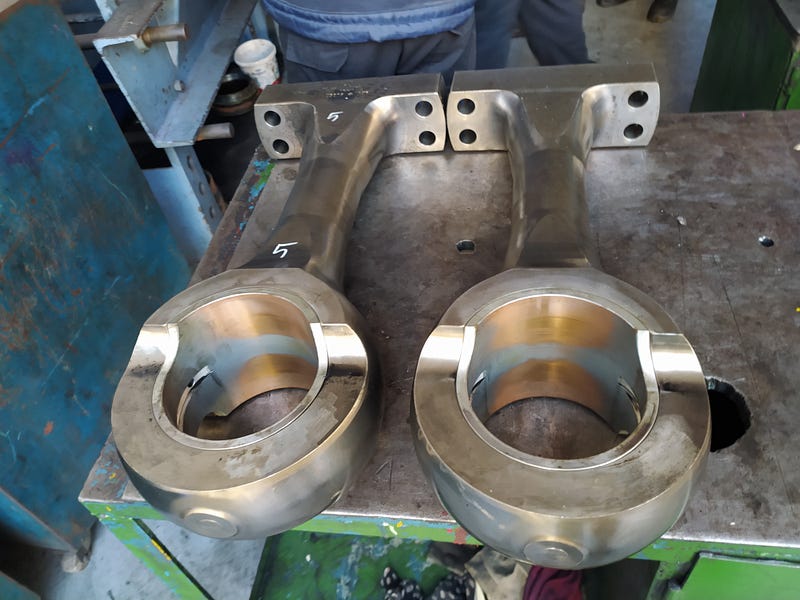
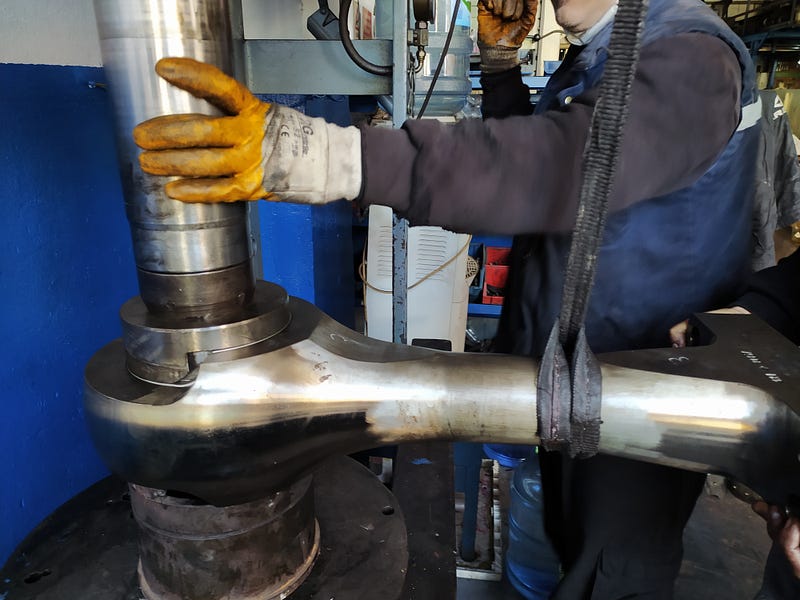
During the assembly of machine parts the property of metal to expand and contract is often utilized. One of the places where this property is used is during the assembly of the small end bush. The bush cooled with liquid nitrogen is taken with special gloves and assembled onto the piston rod. The use of liquid nitrogen can create a mysterious atmosphere in the workshop due to the evaporating nitrogen.
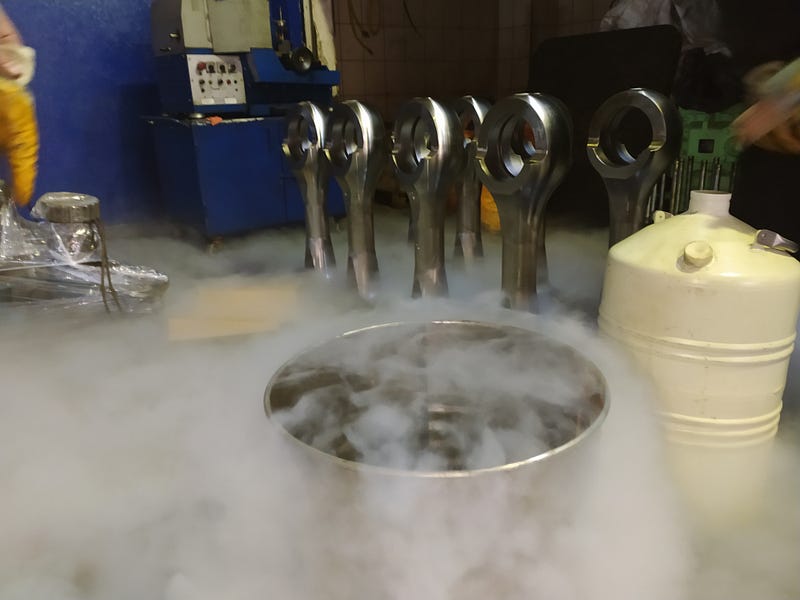
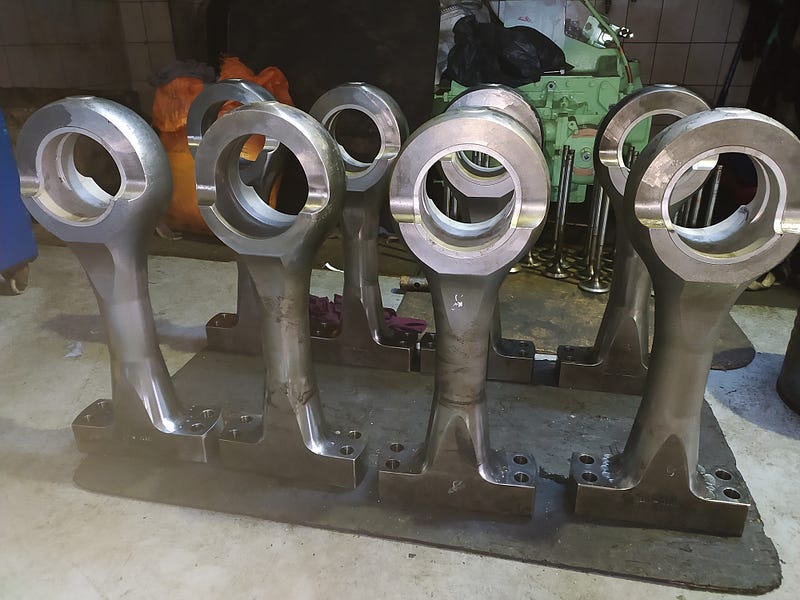
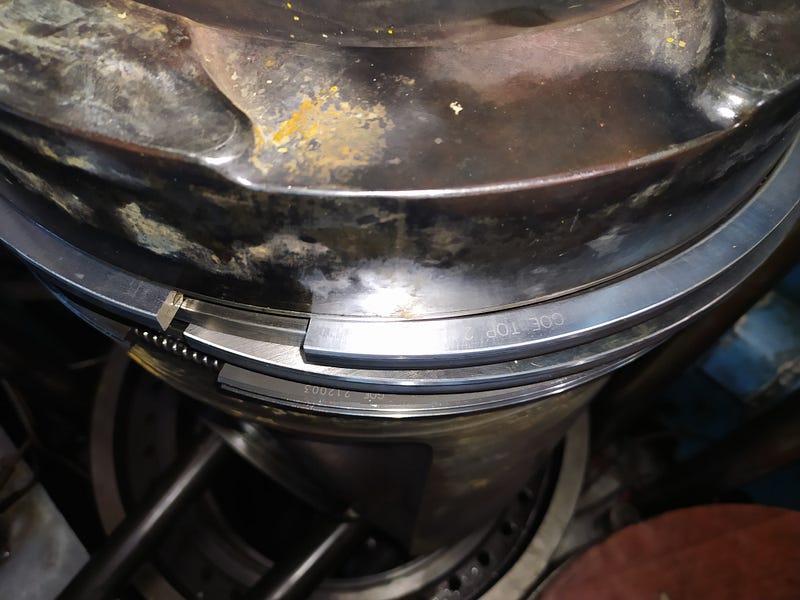
Once all the cleaning, inspection, measurement and refurbishment processes are completed our piston is ready for assembly. Usually the piston rings are replaced when a piston is removed and this is recommended. It is crucial to ensure the correct positioning of the piston ring gaps and to verify that the marks on the rings are in the correct position. After checking that the ring clearances are within the range specified by the manufacturer the assembly can be completed.

Sources
(1) — Fault detection in an engine by fusing information from multivibration sensors — Ruili Zeng, Lingling Zhang, Jianmin Mei, Hong Shen and Huimin Zhao
(2) Yanmar 6HAL2 Series instructions
(3) Yanmar 6EY18ALW instructions
(4) Yanmar 6–8N330 instructions
Yorumlar
Yorum Gönder